How to rustproof your vehicle using Corrolan – Part 1

How to Rustproof using Corrolan – Part 1

For over 25 years Rustbuster have been offering rustproofing solutions either in house or on site. We no longer leave the premises to rustproof but do still offer half day or full hot fog rustproofing services. The differences between the 2 systems can be found here.

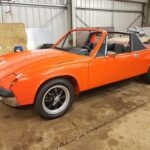
However, this blog is designed to give you some confidence in taking on this project yourself, it’s a relatively easy job and can be done with minimal equipment but a fair amount of effort.

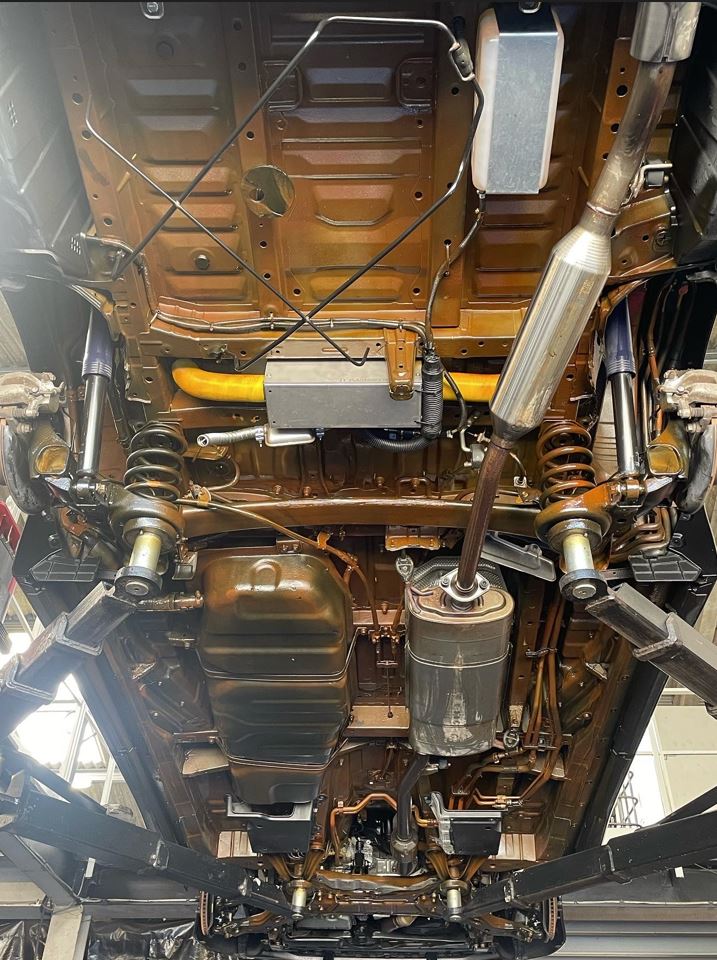
So, what will you need to start this work? Ideally to do a better job you need the ability to lift the vehicle off the floor a 2/4 post lift makes this job so much easier and using Corrolan allows for easy clean up so the lift if you rent one won’t take an age to clean afterwards.

  • Pressure washer/Steam cleaner
  • Chlor-X Salt remover and a Traffic Film Remover
  • Car Trim removal tools (if your vehicle has plastics installed in the wheel arches)
  • Something to assist with drying the vehicle, if you can leave the vehicle to drip dry overnight perfect.
  • Rust Removal Tools (Rustbuster supply a range of tools for this)
  • Fe-123 Rust Converter or Corrolan Penetrator, brushes and something to hold your chosen fluid.
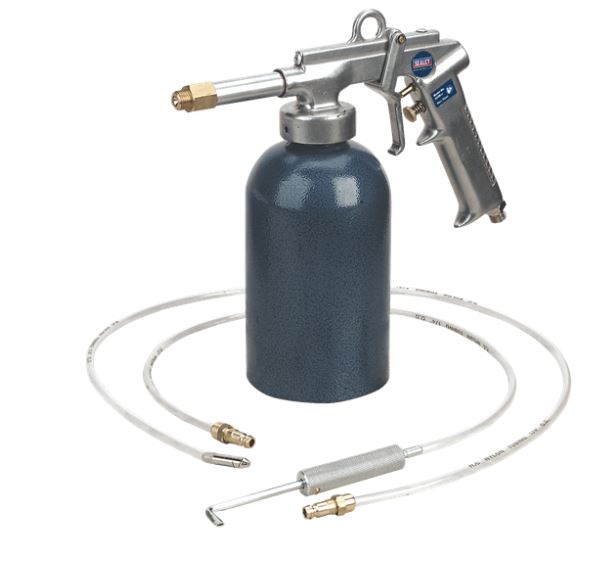
  • Compressor that will supply enough air consistently for your chosen method of application, for the purpose of this blog we are going to assume you are using a Pro Wax Injection Kit (see below) Your compressor for this gun will need to supply 5-7cfm and up to 90psi. Of course, you’ll need a long enough air hose to get around the vehicle.

Sealey Pro Wax Injection Kit comes with a Rustbuster bullet tip for spraying of underbody wax

  • A bucket of boiling water, this will help to reduce the viscosity of your Corrolan Active and Pure prior to application.
  • Something to cover the car with, at Rustbuster we use masking cover rolls for the vehicle and carrier bags for the wheel hubs, you’ll also need some masking tape.
  • Rags and white spirit to wipe us any mess.

So, let’s begin.

  • Pressure washing/Steam Cleaning of the vehicle – At Rustbuster we see all manner of vehicles undersides, most are rusty with an amount of road dirt on the underside typically these are washed in around 15 minutes. Some imported vehicles or new vehicles are as you would think pretty immaculate. Some are covered in mud and road dirt and will need an initial wash prior to remove this excess.
  • At this point in the operation, you’ll need to apply your Chlor-X Salt remover and TFR (Traffic Film Remover) this will remove those stubborn salts and road grease and dirt. Either use the machines doser if available or if not make a formula 50/50 of Chlor-X/TFR and spray over the wheel arches and vehicle underside. Once done rinse with fresh water and allow the vehicle to dry overnight or force dry, at Rustbuster we use a 8 Horse Power Master Blaster hot air detailer.
Raising the vehicle will allow a more thorough clean

Now to remove the plastics.

  • Removing the plastics on a vehicle will expose the underlying substrate obviously on a classic vehicle you can happily skip this step but typically from the 80’s to now we’ve started to attach more and more that need to be removed prior to application, automotive trim removal tools can help with this, click here to view the 11pc Car Trim removal Tool Kit. This part of the process can take 30minutes if the screw heads haven’t been destroyed and 2 hours if they have and don’t want to budge, then the only way is to break them off and replace with new fixings, like these available from Rustbuster
  • Once arch liners and undertrays are removed you can see the whole areas that are to be coated.
  • Now it’s time to prep!

Rust Removal (the dusty part)

Share this post

Recent Posts